This post is slightly different to my previous ones, however I have been an avid fish-keeper (and breeder!) for a while now and wanted to share my advice and knowledge with you. Whilst researching for my first aquarium i spent a long time visiting 101 different websites, and yet still most of what i have learnt has come from trial and error and experience. Therefore i have created this post to enable you to have as much insight as possible before setting up your own aquarium.
Step 1) decide which type of aquarium is right for you
There are 3 main types of aquariums, cold-water, tropical and marine.
The first is exactly how it sounds, fish which are adapted to living in cold freshwater. These tend to be the most basic types of fish e.g goldfish.
They actually require a lot more upkeep than many people believe. Some retailers are still selling bowls marketed towards goldfish, however these are an extremely unsuitable environment for goldfish to thrive in. (At the very least fancy goldfish require 75L and common goldfish 100L), this is because the myth that goldfish only grow to the size of their environment is wrong!
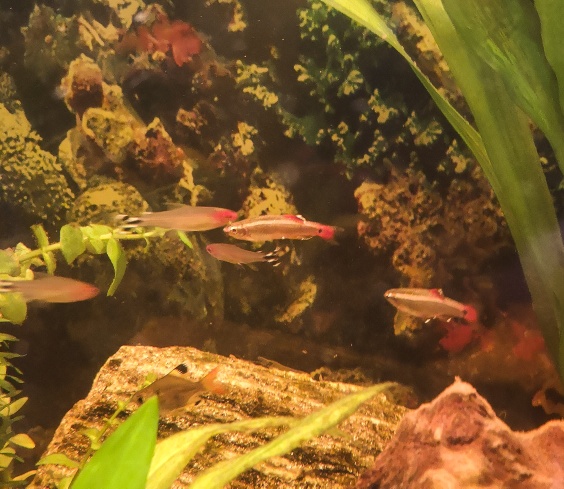
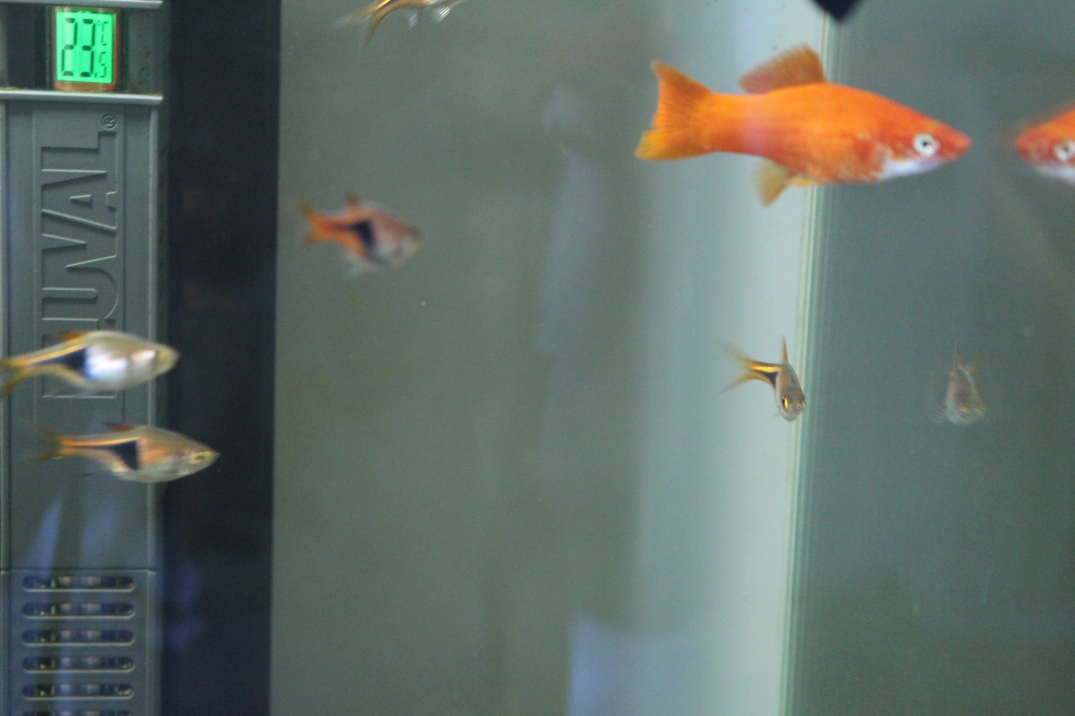
Tropical fish are adapted to live in freshwater which has been heated up to mirror natural temperatures (around 25C). These kind of fish tend to be much brighter and have a larger variety to pick from. For example, tetras, gouramis, angel fish and even some sharks! The temperature also means that you can grow plants within the aquarium helping to ensure their environment is as natural and realistic and possible.
Marine fish however, are fish which require saltwater in order to survive. Despite them being some of the most beautiful and brightly coloured fish, e.g clownfish, their tanks are a lot more tricky and expensive to set up. Just setting up a marine tank can cost over £1000, and that’s without the fish and corals which can cost £100s of pounds each.
Therefore I am going to explain the basics of setting up a tropical aquarium, this is because it is slightly more in-depth and exciting than cold-water but simple enough for beginners.
Step 2) Finding the tank for you
So if you’ve decided that tropical fish are definitely for you, the next thing is to look at different types of tanks for you. There are tanks as little as 20L which sit on the bedside table and tanks which take up the whole of one wall!
Which one you get of course needs to take into account the size of your room, the amount and types of fish you are wanting and how often you are willing to clean it. (I’ve found that ironically the bigger the tank, the less maintenance and cleaning is required as long as you have an efficient filter).
If you are just planning on having a shoal of neon tetras for example, then a smaller tank will do, however if you are planning on having angel fish, gouramis and plecos then a larger tank will definitely be needed. If you have a specific fish breed in mind, then make sure to do your research on it before hand to ensure your tank is suitable!
This is a great site for looking up all the information on specific breeds.
Step 3) Filters, heaters and lights
So this is the boring step, but probably one of the most important. In order to set up an effective aquarium then you need to ensure you have an adequate filter,heater and light. If you have bought your tank as a starter kit then more often than not everything you need is included! However if it has not, then you need to find ones suitable for your tank.
Filters are a vital part of cycling your tank and ensuring that the water does not turn toxic for your fish and any other aquarium inhabitants you may have. A filter should ideally contain sponges, charcoal, carbon pads and ceramic.
Heaters are a lot more simple, as long as they are suitable for warming up the size of your tank, some heaters have digital thermometers attached to them, however i always find it good to have a separate thermometer on the other side of the tank just in case!
Lighting not only helps to make your tank look more attractive, it is also vital for the growth of plants and fish, it particularly helps with brightening many fishes colours!
Step 4) Aquascaping
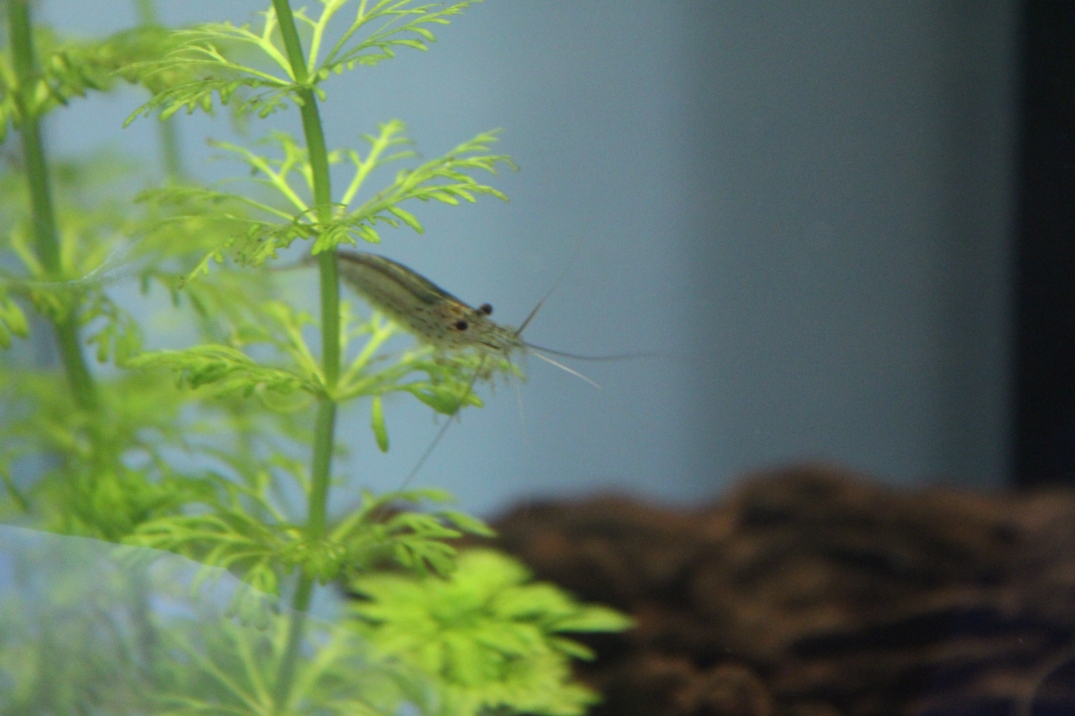
After the much-needed yet slightly boring stuff comes the fun part! Aquascaping! This is effectively a word for how you set out and design your aquarium. There are so many different designs and ways, the best i find however is finding one which suits your personality, this may be having a darkly decorated tank, a natural one using plants and wood or a brightly coloured tank using plastic decorations.
My first design for my tank consisted very much of fake plants and coral. I wouldn’t really recommend using lots of plastic if you don’t have to. This is because i found they took A LOT of cleaning and were actually pretty pricey.
Since then i have learnt and swapped my plastic plants for real ones, and it is one of the best decisions i have made. Not only do i no longer have to clean them, they now in fact help with the running, cleaning and oxygen levels in my tank. They are a great source of food for some fish and are vital for creating hiding places. Real plants are also a lot cheaper than their plastic alternatives, from independent fish shops i tend to get about 6 bunches for under £10.
Substrate should also be a very important part of your design, it of course has a big impact on how your aquarium looks, but it also has an impact upon the health of the plants and fish. Very large substrate is not always recommended as uneaten food and waste can get trapped underneath creating a toxic build up. Very small substrate such as sand can also be trickier during clean up, particularly if using a gravel cleaner as they can suck the sand up too! Some fish however such as plecos and other catfish prefer smaller substrate as they are bottom dwellers (they like to live near the bottom of the tank), and large stones etc. can irritate their barbels, which if cut or broken can lead to infection.
Another great addition to an aquarium is bog or driftwood. You should be able to find these in any good aquatic shop or online. These will not only help to create a natural environment for your fish, they will also help promote the growth of beneficial bacteria. Be warned however that the introduction of driftwood may cause your tank to become a browny colour. This is due to something called tanins being released from the wood. Soaking the wood in a bucket of water should remove these, however this may take a few weeks to fully remove the colouring.
If you cannot or do not want to wait that long, boiling can help to remove the tanins within just a couple of hours.
Step 5) Cycling your tank
So you may think your tank is looking good and you are ready to put in your first fish, well unfortunately not quite. Before thinking about adding any old fish in, you must complete the nitrogen cycle / cycle your tank. It’s no where near as tricky as it sounds. Basically, water straight from the taps have a lot of chemicals in it such as chlorine which is extremely dangerous for fish, therefore the water must be cycled and tested.
Whenever adding water to a tank, whether for the first time or during top-ups whilst cleaning, the water must always be neutralised. You can easily buy water conditioners which makes tap water safe from pretty much any pet or aquatic shop. For the first time however, cycling must take place. This is because there are currently no good bacteria within the tank that can remove waste, therefore by placing fish in straight away, their waste will create a toxic buildup, even with a good filter.
In order to overcome this there are many simple solutions, you can buy chemicals which can quick-start the process and add in the bacteria needed from many different stores. Another simple way is by the addition of hardy fish. By adding in fish which can deal with the high levels of toxins, they can begin the cycling process by producing waste which will allow the good bacteria to begin to build up. The fish used for this process however must be able to deal with the stress, good hardy fish include Zebra Danios, most Minnows, most Guppies and sometimes Cherry or Tiger Barbs.
For more information and ways on how to cycle your tank effectively visit click here.
Step 6) Beginner’s fish
As mentioned in the previous step, hardy fish are ones to begin with. Once the tank has been cycled effectively and the hardy fish have settled in, you may begin to think about adding in some slightly less hardy fish. As again previously mentioned, make sure you do your research on your specific fish wanted to ensure they can cope with your water pH, tank size and tank mates.
Once you have decided on the fish you think will be a good addition your tank, you must settle them in slowly, make sure to just float the fish for an hour to two first to get them used to the water temperature, after that, you should add some of your tank water into their bag and tie back up, allowing them to float for a further hour or so. Again this will just get them accustomed to your tank without creating too much stress. Once you have released the fish, it is good practice to leave the light off for a while to allow them to settle in. You may also find they hide for the first few hours, this is completely normal and just allows them to get to know their new environment.

Step 7) Those annoying pests
You may soon find that in fact have a few extra tank guests than you first realised, the most likely being snails! Although they may look very cute at first, they breed like there is no tomorrow! You may start of with one or two, but by the end of the week your tank will most likely be overrun by them.
But don’t worry, there are a few simple solutions,
- Assassin snails – yes these are also snails but much bigger and cooler! They will remove you of your small snail infestation without overrunning your tank.
- Bottom feeders – fish such as loaches, plecos will in fact eat those pesky snails!
- Snail traps – bought from most aquatic or fish shops, these are exactly as they say, however they may not be suitable if you have other snails, e.g assassins.
Step 8) The inevitable…cleaning
The part that no one really wants to do, but unfortunately, needs doing in order to keep a healthy aquarium.
You will find that algae may have built up around your tank, you can buy specialist brushes to scrape it off, but personally I find a clean, unused toothbrush the best to use to get into all those corners.
A gravel vacuum will also be a good investment as this sucks up any dirt and debris away from the floor. It will also siphon water out so be sure to have a bucket handy! It is ideal to remove around 20% of the water whilst cleaning. Remember when replacing the water it must be treated to ensure no chlorine remains!
Every few weeks you will also have to give your filter a good clean and scrub, it definitely isn’t the prettiest of jobs, but keeps it working at full capacity ensuring the water does not need cleaning as often and that your fish are getting adequate oxygen!
Step 9) Food glorious food!
No, this step is not about having the fish for tea! But purely the different foods available to you to promote the growth, health and colours of your tank mates.
You can of course buy tubs readily made, which should be the basis of their nutrition, however make sure you have ones suitable for all of your tank mates, e.g sinking pellets to ensure your bottom feeders get enough food!
Again, make sure to do your research on specific fish as some require live bloodworms etc. In order to remain healthy.
Extras you can feed your fish include cooked and shelled peas! Yes you read that right, it can be very nutritious for them and helps with their digestive systems. Cooked and peeled cucumber, courgette, broccoli, zucchini and lots more can in fact be very good for not only us, but your tank mates as well!
Step 10) Enjoy the beauty
So now is the time to sit back and watch the fishy world go by. Of course, before buying any specific fish etc. Ensure you spend the time to do the research on it!
This is intended to be a basic guide for beginners on how to set up their tank, I am in no way a professional and will always recommend people do as much research as possible, particularly whilst dealing with living animals etc.

I hope this has been in some part useful to you, and, if you do end up setting up your own aquarium, I would love to see any pictures or hear any advice you would give to others, so leave them below!


I love looking at aquariums! Haha.
LikeLiked by 1 person
We’re planning to restart our family aquarium soon! What types of fish are your favourite?🙂
LikeLiked by 1 person
I love brightly coloured ones, so dwarf gouramis, cardinal tetras amd angel fish are probably my favourite!
LikeLike
Ohh, definitely saving this post for my boyfriend who is desperate to build his own fish tank! I want to help but have no idea where to start, however really love this post! 💗
Georgia x // http://www.georgialeanne.wordpress.com
LikeLiked by 1 person
Thank you so much, hope it is of some help x
LikeLiked by 1 person
Uhoh I’m having to write this post with the screen very much hidden from my other half, he loves fish and aquariums and has been BEGGING me to get one haha! This was a really useful post, thank you.
LikeLiked by 1 person
Great informative post! I loved our aquarium growing up! My favorite part was setting it up! Of course picking out the fish was fun, too!
LikeLiked by 1 person
Great post!!
It was really useful 💗
LikeLike